Getting started with Conserv
Hooray! You’ve received your equipment from Conserv. Here is everything you need to get started:
⚠️ IMPORTANT NOTE: Do not pull the tabs on yous sensors until the gateway is connected and online.
Step 1
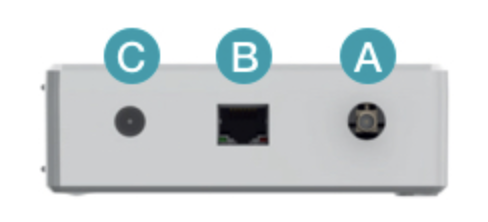
A. Attach Antenna to Gateway
B. Plug in Network Cable (optional)
Ethernet connectivity may not work if you have active firewalls. Do not plug in the Network Cable if you have not arranged for this with your IT colleagues.
C. Plug in Power Adaptor

Step 2
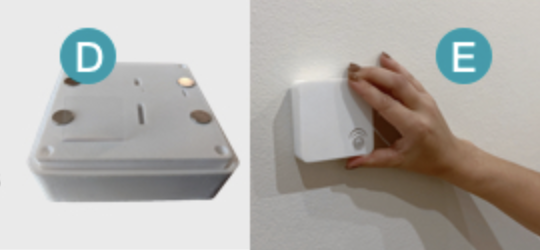
D. Pull Plastic Tab from Sensor Battery. You must do this within range of the gateway.
E. Update the firmware on the sensor: Instructions
F. Install Sensor on wall with command strips*

*We recommend installing Conserv’s sensors with the supplied Command Strips as this is most secure.
Step 3
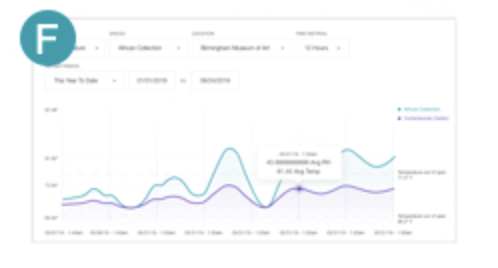
G. Log into your account at App.Conserv.io. Within minutes, you’ll start seeing environmental readings.

Do you have a Cold Storage Sensor, Outdoor Sensor, or Leak Detector?
Setup for these is a little different from the standard Smart Collection Sensor. Check out these resources:
Additional resources
Hardware:
- Setting up your new Conserv Monitoring System
- Adding new sensors to existing Conserv Monitoring System
- How to use the Command Strips to install the sensors
- Where should I put my sensors?
- How to use my equipment to test range?
- Update the firmware on new sensors
- Sensors did not come online? Read this!
- Swapping old sensors for new? Read this!
