Here at Conserv, we’re always amazed by the ingenuity of the profession we serve. Conservators are an innovative bunch, always looking for new solutions to problems. In our day to day we focus on building great tools for preventive conservation, but it turns out we can use the same technologies we rely on to rapidly bring sensors and software to market to serve the conservation profession in other ways.
Challenge: The missing piece
Recently one of our conservator friends came to us with a problem. She was working on an ornate frame that had a missing piece. The missing portion was fairly large, complex, and needed to be replaced. There was a matching piece on the other side of the frame, but reproducing a mirrored version would require a lot of intricate carving, a time consuming and imprecise process. Could we repurpose the same technologies we use for rapid prototyping to reproduce this piece?
Solution: Digital reproduction
3D printing has made huge leaps in quality in the last decade, and the commoditization of the technology has pushed prices down to the level where it is accessible to even the smallest teams. 3D scanning has made similar leaps forward in capability, without quite so pronounced a drop in price. Here at Conserv, we use 3D printing to rapidly prototype new sensor ideas. Going from concept to physical prototype in a matter of days lets us put ideas in customers’ hands at lightning speed.
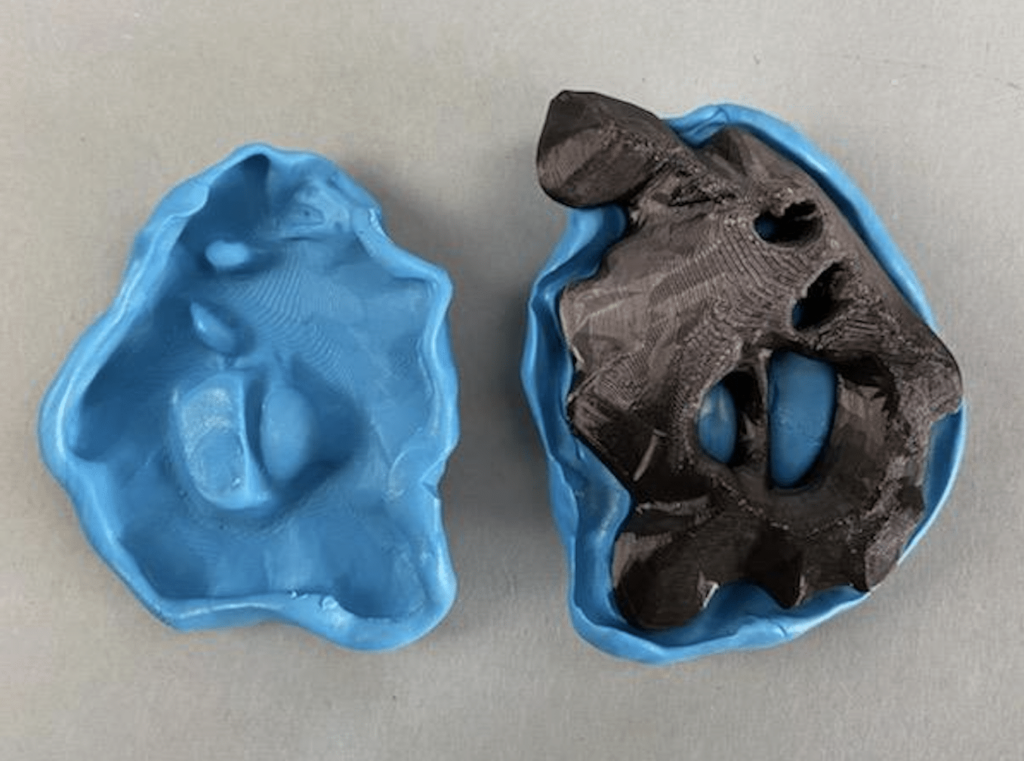
We have the tools, so how do we apply them to solve the problem of “the missing piece”? First, we needed to capture a 3D model of the part that we have. We decided against scanning the entire frame, as it would be easier to get a good model of a small, separate part. A mold of the left side of the frame was created, and then we created a plaster cast of that part. This plaster cast would serve as our model for scanning.
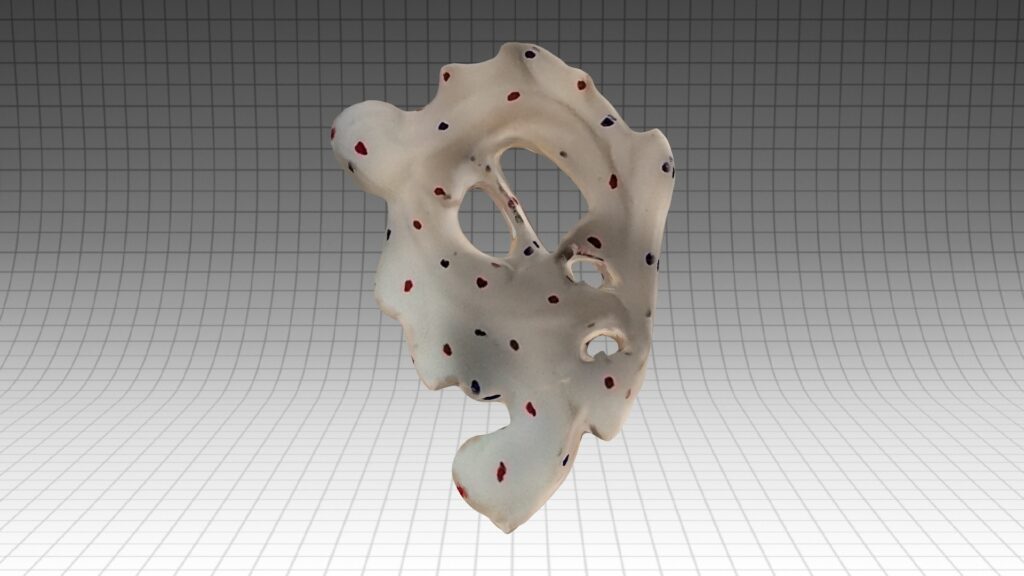
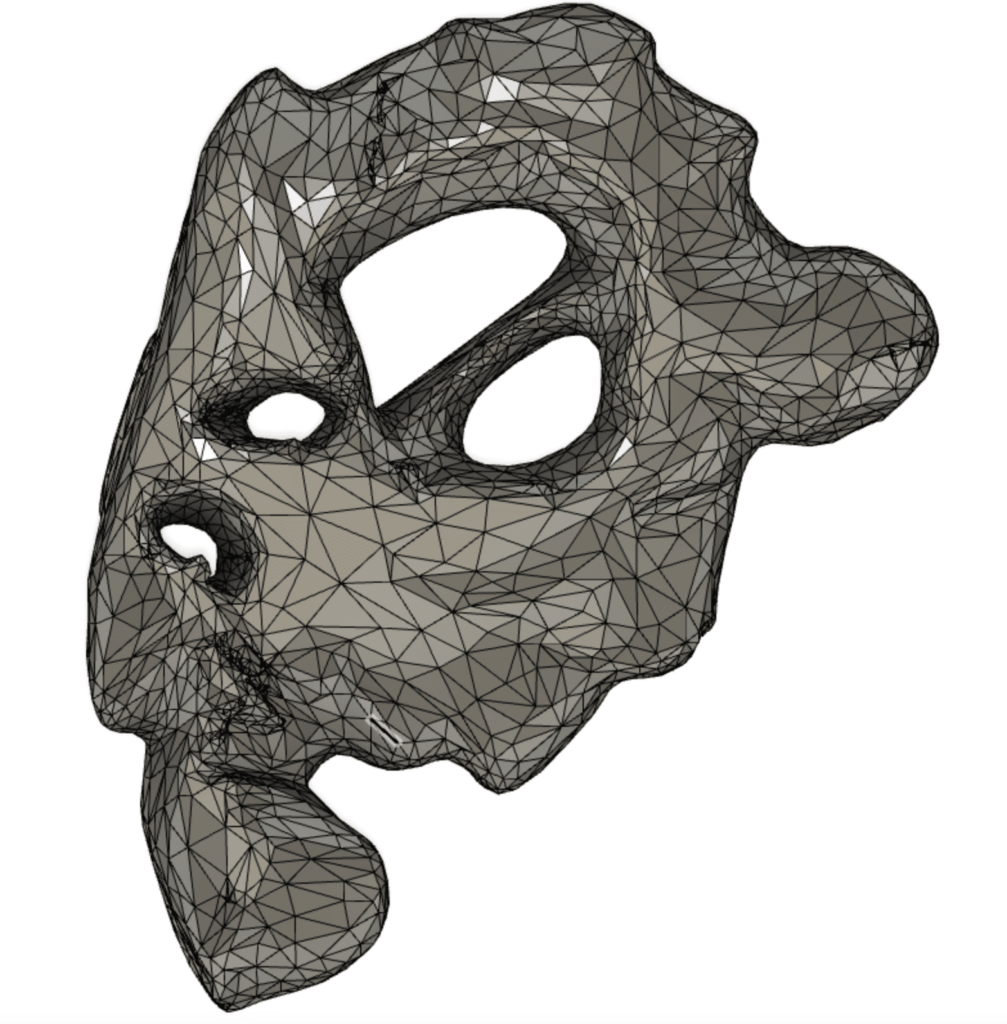
The simplest way to convert a small part into a 3D model without a large investment in specialized equipment is a technique known as photogrammetry. Using photogrammetry, we can take a bunch of images of an object from multiple angles and use some software magic to stitch those together into a 3D model. After trying out several options, we got the best results from an app called Qlone. Here’s the initial model of the cast after scanning:
A few tips for getting a good scan with Qlone:
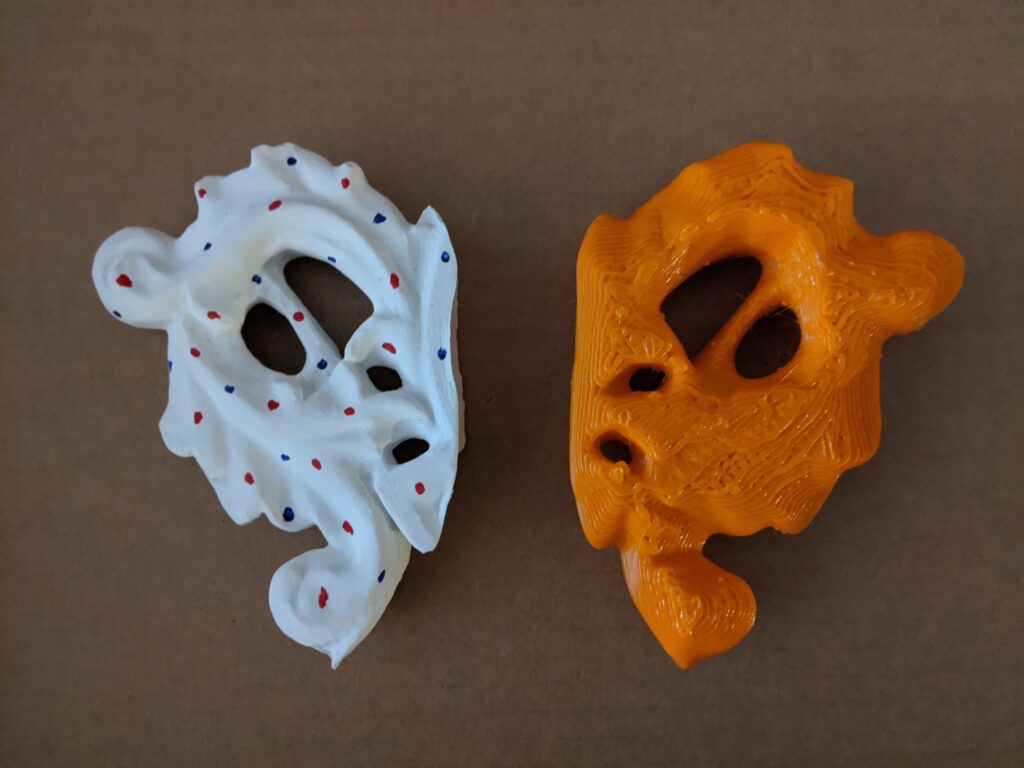
- Our model was one solid color. We got better results after adding some colored dots to the plaster cast. I think having these reference points let Qlone do its job a bit better.
- Use a lazy susan or turntable to rotate the object, and a tripod to hold the phone or tablet while scanning. The more stable the camera and object, the better the results.
- Qlone has an option for combining multiple scans to create a better model. This made a huge difference.
After scanning, we used the pro version of Qlone (about $30) to export the model to an STL file.
Great! We have a model. Unfortunately we’re not quite done yet. We need to mirror the model to create a right side version of a left side part. Autodesk Fusion 360 is my tool of choice for jobs like this. Getting a mirrored version of the model required a couple steps. First, we had to drastically reduce the complexity of the model. Model complexity is usually measured by the number of triangles and vertices in the model. Reducing the number of triangles let us convert the detailed STL file produced by Qlone into a solid body. This turned out to be OK, even with a reduced model complexity we still had a great approximation of the part. Once converted to a body, mirroring the object was as simple as aligning it with a plane, and using that plane to create a mirrored version. Here’s the end result:
A critical part of this process is getting the size just right. We started by measuring the plaster cast with a set of calipers and comparing those measurements to the model in Fusion 360. Scaling a digital model is a simple affair, and after a few tweaks we got the sizing just right. With a mirrored and properly sized model in hand, we can move on to printing! I’m a big fan of starting with fast, low resolution test prints before moving up to a more detailed final print. For our initial fit tests, we printed with a 1mm nozzle and 0.5mm layer height. The result was ugly, but printed fast and let us make sure the sizing was correct. A side by side comparison and measurements compared with the cast original confirmed we got it right!
The last manufacturing step was to print a higher quality version that would render as much detail as we could manage. We printed the final part with a 0.4mm nozzle and 0.2mm layer height. This higher quality print was then used to create a mold. This mold was in turn used to create a wax replica which could easily be adjusted to match the existing part as closely as possible. Once the wax part’s fit and detail was satisfactory, the wax part was used to create another mold. That mold was used to create a plaster cast that would serve as the final replacement part. Ideally those intermediate steps wouldn’t be necessary, but there was some significant adjustment that needed to be made that we couldn’t easily capture in software.
At the end of this process, we had a workable reproduction of the missing part, dimensionally accurate and nicely matching its mate on the other side of the frame. 3D printing is certainly not new to the conservation toolbox, but we were pleased with the result and happy to be able to help a conservator solve a tricky problem.